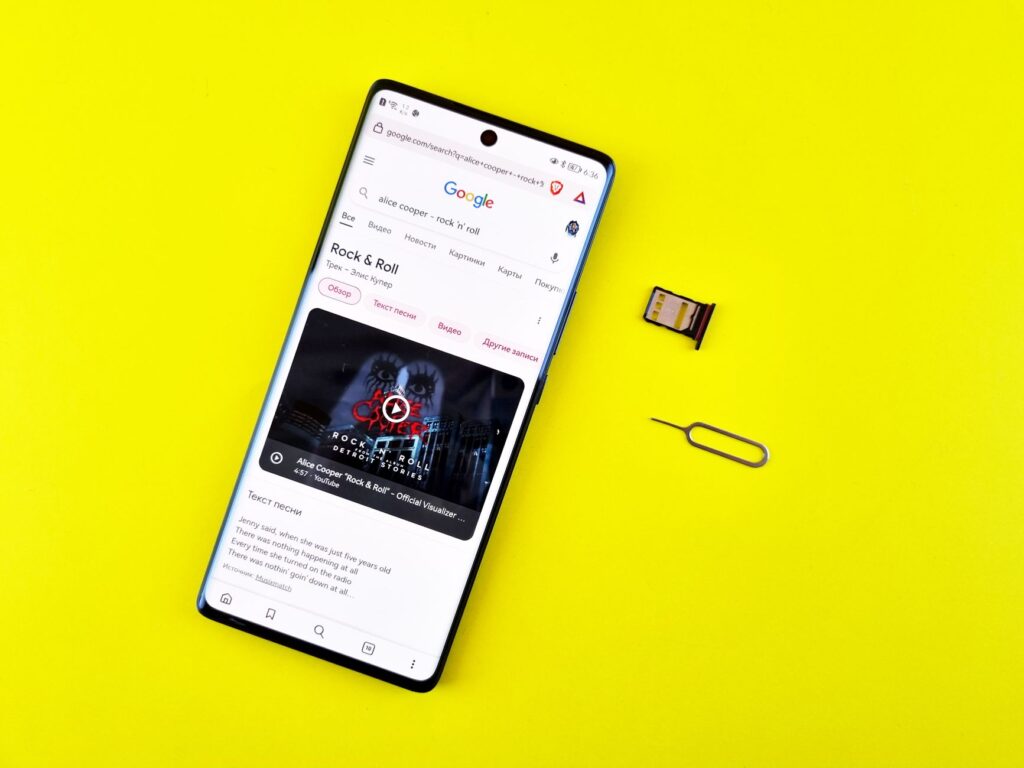
Android phones bury the eSIM menu in slightly different places per brand. Here is the map.
Google Pixel (Pixel 3 and newer)
- Settings → Network & internet → SIMs → Add SIM.
- Choose Download a SIM instead? → Next.
- Scan the QR from your email and confirm.
Samsung Galaxy (S20 and newer, Z series, recent A-series)
- Settings → Connections → SIM manager.
- Tap Add eSIM → Scan QR code.
- Scan, confirm, and the line appears in SIM manager.
Note: some carrier-sold US Samsung models ship locked — the eSIM option appears only after unlocking.
Other brands
- Xiaomi / HONOR / OPPO (global models): Settings → Mobile networks / SIM card & mobile data → Add eSIM.
- Motorola: Settings → Network & internet → SIMs.
If you cannot find any eSIM entry, the model likely does not support it — check our compatibility list.
After installation
- Set the new eSIM as the mobile data SIM when you arrive.
- Enable data roaming for the eSIM line only (required for travel eSIMs; no extra cost on prepaid).
- Keep Wi-Fi on during installation — the profile downloads over the internet.
Manual installation
Every Android QR screen also offers “enter code manually”. Paste the SM-DP+ address and activation code from your confirmation email — useful when the QR is displayed on the same phone.
Get a plan with instant QR delivery for 200+ countries: browse destinations.